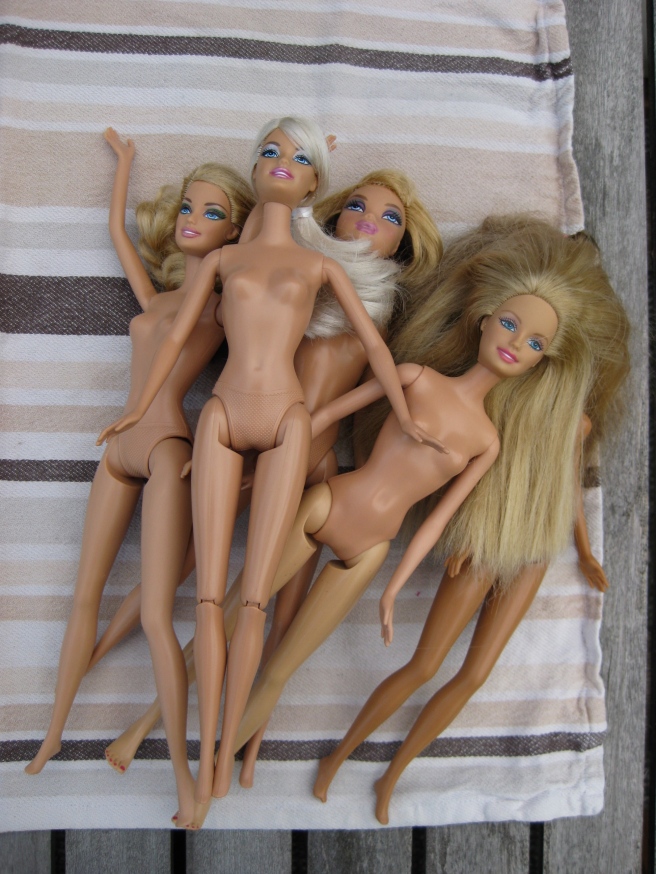
Naked Barbies!
I can’t be the only one with daughters who leave them laying all over the place, right? At first I tried a “Barbies Always Have to Wear Clothes” rule, but when an older neighbour girl came by and dropped off all of her old dolls (20!), most of them having lost their outfits ages ago, I knew that wouldn’t work. We didn’t even HAVE that many Barbie clothes! After tossing the ones that had been given bad haircuts, were drawn on, or were missing limbs; we still had at least twelve new dolls that looked rather indecent.
Now the purpose of this blog is not to tell you how to live your life, but I’m fairly certain that I’m going to get comments about this eventually, so I’ll address it here and now. Yes, I think that our bodies are beautiful. Yes, I believe that we are fearfully and wonderfully made. Yes, I want my daughters to be comfortable with their bodies. Yes, Adam and Eve were naked in the Garden of Eden. But we are now living in a fallen world, and public nudity is no longer the norm. Wearing clothes is necessary not only for protection from the elements, but also for protection from dirty minds. In fact, it is BECAUSE our bodies are so special that we should cover them up to a certain degree. They are simply not for everyone to see, not all of it.
I also have a 10 year old son, and even though Barbie doesn’t exactly have a realistic female figure, the sight of her naked body is rather provocative. I want him to have a healthy respect for women and their bodies. Now I don’t think that women should have to be wearing burkas, but neither do we just let it all hang out. I think it’s pretty realistic to expect a Barbie doll to wear clothing, especially since the number one thing that my four year old pretends her Barbie is – is a Mom. I know that I, as a Mom, wear clothes (unless I’m showering or something), so why would Barbie Mom be naked?
And that’s all I have to say about that.
On to the tutorial!
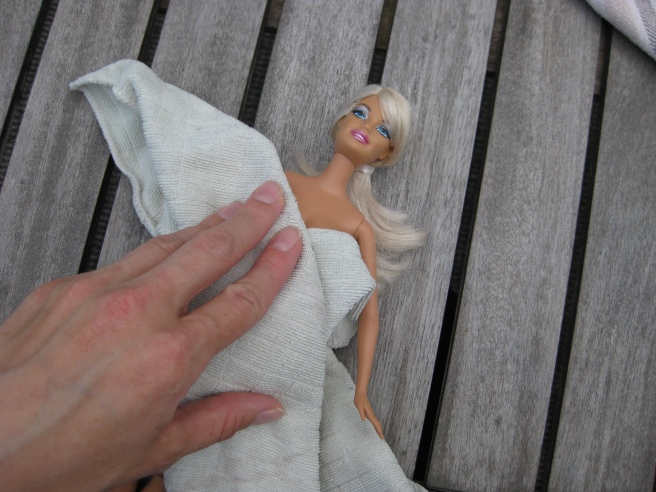
I had seen this idea on Pinterest about using nail polish to paint underwear and/or swimsuits onto Barbies, and I thought that was brilliant! If you paint your nails, you probably already know the basics of proper application and how to get a long-lasting mani or pedi. I’m not exactly a pro, but I figured that it would be best to start with clean Barbies. I washed them with dish soap and water (just the torsos, not the hair or limbs), and dried them with microfibre cloths just to make sure they were good and clean.
Now comes the fun part! I don’t really paint my nails because most nail polish is so toxic, but this is one case where you don’t want the water-based, all-natural stuff, no matter how much of a “Greenie” you are (and I am). You want the stinky, smelly, chemical polish. I found some great colours VERY cheaply on the clearance shelf at Shopper’s Drug Mart. You could paint all of your Barbies in the same two or three colours, but I thought that would be boring, so I went online and discovered Nail Polish Canada! They have an ENORMOUS selection of nail polish and I found their prices to be at least a couple dollars cheaper per bottle than anywhere else. They even do free shipping, AND they carry my favourite non-toxic nail polish: Piggy Paint. Hands down, NPC is my new go-to place to buy nail polish (and no, they did not pay me to say that). Unfortunately, I went a bit overboard, and spent more than I needed to (Sorry, Honey). On the plus side, all of our Barbies now have unique paint jobs, and I’m sure I’ll find another craft or two to do with all the extra nail polish. . .
Because of the large amounts of nail polish you will be using, you definitely want to do this project outdoors in the summer time, or the fumes will probably kill you. Or at least give you a really bad headache. I set myself up at my patio table with the following supplies:
• Clean Barbies
• Nail polish
• Nail polish remover (for mistakes)
• Q-tips (for the nail polish remover)
Normally you would use a base coat to help the polish adhere better, and I probably should have, but I didn’t. The truth is, I mostly winged it. All I had decided beforehand was which Barbie would wear what colour. I had no plans for the style of swimsuit; they just kind of evolved as I went.
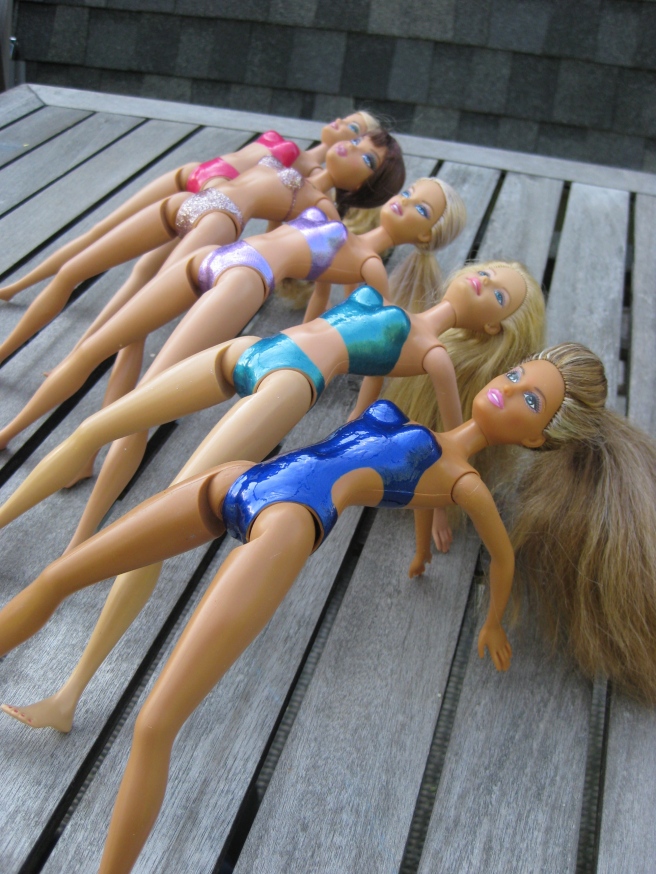
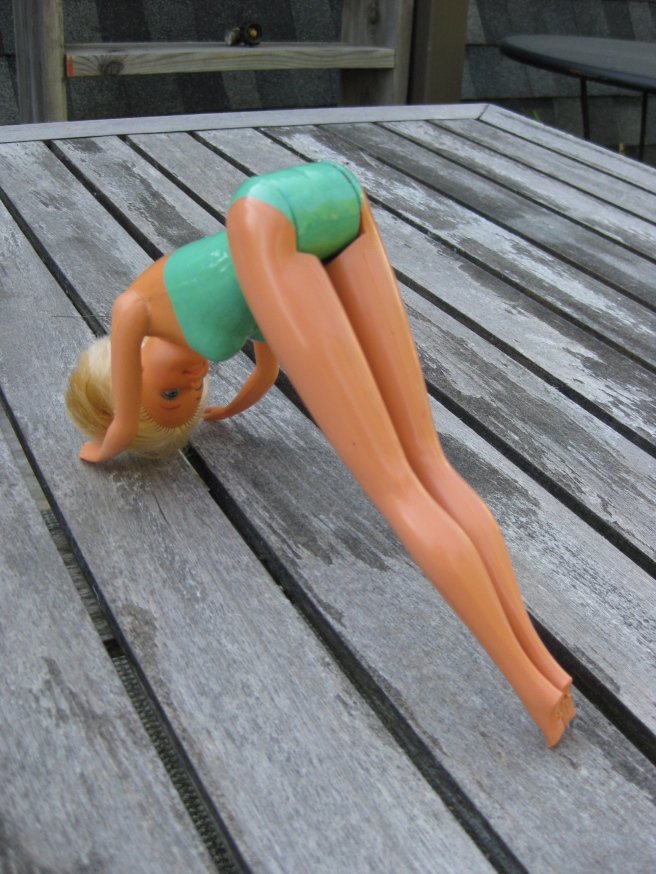
At first I found it quite difficult to paint neat, smooth lines. Barbie is much more curvy than my nails! And more than one bikini turned into a tankini or one-piece because I wasn’t happy with how thickly I had done the back strap, but with practice, it got easier. The photo above shows the best pose that I found for drying the dolls. I know it looks quite provocative, but it was the only way to do a coat of polish on both the front and back sides of the Barbies, and keep their hair out of the way. I let each coat dry thoroughly before applying the next. There’s no need to rush like you might for your own nails; you could do one coat each day while the little ones are napping.
For those who care about such things, the polishes that I used (above photo) are as follows, from bottom to top: Sally Hansen Xtreme Wear in Blue It, Sally Hansen Xtreme Wear in Marine Scene, Ozotic 902, Sally Hansen Gem Crush in Razzle Dazzler, and Rimmel Lasting Finish Pro in Posh Pink. Out of these, the Rimmel one had by far the easiest application and the best coverage. The formula was just perfect! The worst were the Salley Hansen Xtreme Wear colours. Drippy, hard-to-control formulas that required at least four coats for good, strong colour. To be fair, the Ozotic one also required several coats, but I think Ozotics are intended to be almost like a top coat for other colours, to give them iridescence. The effect is quite beautiful! The Sally Hansen Gem Crush is a very thick, heavily textured polish, but still applied easily. You may notice that I used the SH Gem Crush on what I think is a Bratz doll (one of the free ones from the neighbour). It was surprisingly difficult to find a good colour match for her! Something about her skin tone made that pink the only one that really looked good on her. So if you have a large variety of skin tones in your dolls, you may want to take a few of them with you to the store, to make sure the colours you’re choosing will look good on them.
Tip: if you don’t want the swimsuits/bras to show when the Barbies are wearing clothes, you have to be careful about how high up the boobs you paint. Think about your own bras: they probably cover just a little more than half of “The Girls”, right? Put a few outfits on your Barbies and take note of where they sit. Yes, I painted too high on my monokini girl up there, but that was a mistake (she was one of the first ones I did). Also, I made all of my Barbie swimsuits strapless, to accommodate halter tops, standard straps, and strapless styles.
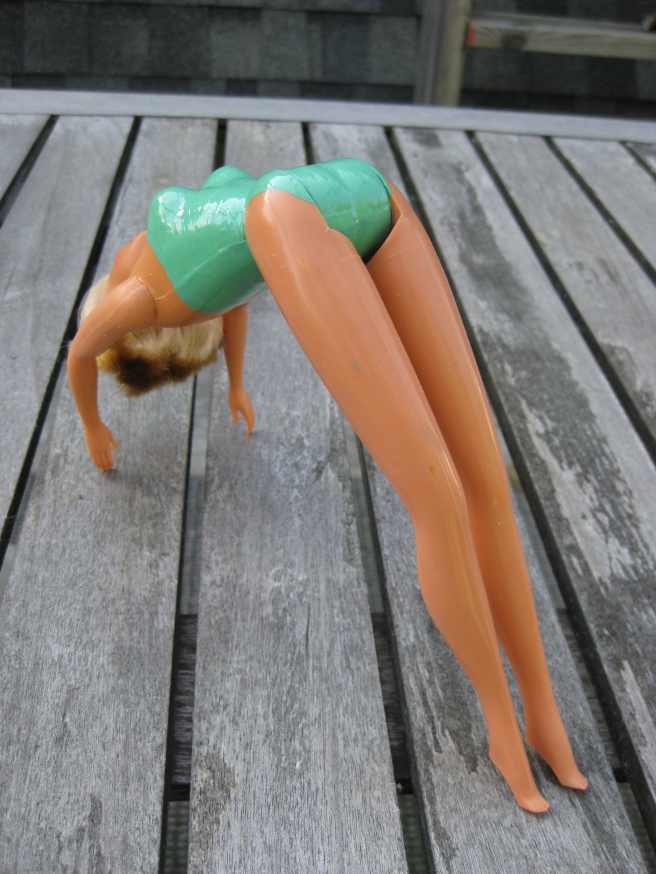
If you have an older Barbie with this body style (above), she will have to be painted and dried in stages. Since the legs don’t spread (sorry; that sounds so awful) on this style, you have to paint the front of her pelvis, let it dry THOROUGHLY. . .
. . . and then paint the back and let it dry. If you don’t let it dry completely, you will definitely wreck the polish when you move the legs. This is actually my first Barbie from when I was a kid! And yes, I gave her a haircut when I was young, which I regret. Her polish colour is First Timer by Essie. It was a so-so formula, which actually changed to a greener shade when I added the top coat. I liked the bluer shade better.
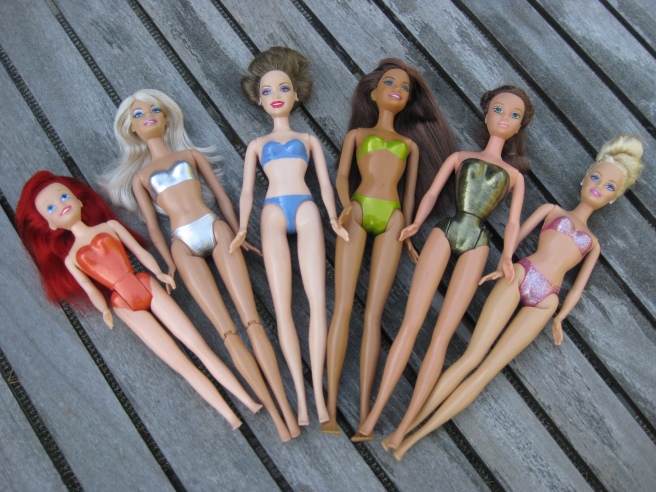
The last batch of Barbies: all painted, dried, and ready for a pool party! Polishes used (left to right): China Glaze in Thataway, Essie Mirror Metallics in No Place Like Chrome, China Glaze in Fade Into Hue, Maybelline Color Show in Lustrous Lime, China Glaze in Agro with a layer of Essence Ticket to Paradise in Tropical Heat on top, and Rimmel Lasting Finish Pro in Posh Pink with a layer of Sally Hansen Diamond Strength in Pulled Sugar on top. All Barbies also received two coats of China Glaze No-Chip Top Coat over their polish jobs, and that did use up pretty much the entire bottle. I found the China Glaze polishes to be quite variable in quality. The Agro was definitely the best, and it looked even better when I put that layer of sparkly gold polish over it! The Essie No Place Like Chrome was a dream to apply, second only to the same Rimmel polish as before. Originally, I was using the SH DS in Pulled Sugar by itself on that last Barbie, but it was just NOT reaching opacity. So I put that great Rimmel polish in Posh Pink on, and then gave it a single layer of the Pulled Sugar. It really added a lovely sparkle! Normally I’m not a fan of pink, but this IS Barbie we are talking about. Plus my youngest loves pink.
The crappiest polishes to apply are definitely the cheap ones from Sally Hansen and Maybelline, but I got them because they were, well, cheap! They have actually held up very well. I painted all of these Barbies almost a year ago, and so far the only obvious damage is to the paint on Ariel’s thighs. I’m not sure if she’s made of a slightly different plastic, or if the CG Thataway is inferior, or if she’s my four year old’s favourite and therefore gets more wear-and-tear, or what. I have plenty of extra polish for touch-ups though!
One final tip: Before you do this to your (or your daughter’s) Barbies, be SURE that it is what you want them to look like. Forever. I didn’t like the colour I had put on one of the dolls, so I used nail polish remover so that I could start over, and it definitely damaged the plastic a bit. The area dulled to a matte finish (Barbie skin is usually a bit shiny), and I rinsed that girl off right away to stop any chemical reaction that was occurring. You definitely would not want to do this to a Collector’s Edition Barbie!
Even though I was never a huge fan of Barbies, I actually enjoyed this project a lot, and my daughters love their dolls in their new swimsuits! It was easy to do once I got the hang of it, and a great excuse to sit outside and enjoy the beautiful summer weather. I’m actually tempted to do a bit more work on a few of these ladies. I think that little polka-dots would be really cute, and possibly stripes! Enough birthdays and Christmases have passed to supply all of the Barbies with adequate clothing, but now I don’t mind if they’re left laying around sans dress. We’ve even gotten a couple of new dolls. . . I think I need some new nail polishes!
So clever!! Now I want to steal all of C’s Barbies and try this. My fave is the sparkly pink bikini!
LikeLike
Just let me know when you want to do it, and you can borrow my polishes!
LikeLike
I may just have to give in and paint leotards on Stacie,Chelsea and Kelly dolls. Stacie McDonald’s outfit on 7.5″ Stacie was just to big. Chelsea came with classic nude painted undies a coconut bra and hula skirt. She is supposed to be 7 at maxium I don’t feel the outfit is acceptable for such young one I know sadly some ppl allow little kids to wear binkis I never would.Kelly’s outfit made me angriest caise it was totally adorable but the snap on romper made it impossible for her to sit. The shirt was a little big but not as ridiculous as Stacie’s was. Classic mattel pink shirt. The Kelly issue is often why most Barbiesand her sisters and all their friends end up naked.
LikeLike
I love this idea! I feel exactly the same way about naked barbies around my house – so much that I swore them off for my daughter. She got a barbie as a gift at a birthday party, though, so I just gave in. I’m definitely going to try this out. Thanks for the tutorial!
LikeLike
You’re so welcome! I hope yours turns out great!
LikeLike